The purpose of this article is to provide a detailed guide on how to create and configure flexible surveys to collect employees' opinions and perceptions on various topics. It describes how to create a Free Survey from scratch or by using predefined templates, as well as customizing the questions and notification settings.
This article is intended for administrator users and Survey managers who use the platform to conduct and manage free surveys. The scope includes creating the form and uploading survey participants both individually and in bulk, providing a detailed understanding of how to configure free surveys.
Create a survey
You can create and configure flexible surveys to learn your employees' opinions and perceptions on any topic. Track and analyze results overall and by area. If necessary, you can also apply confidentiality criteria.
To create a Free Survey, go to "Organizational Development" in the side menu and under "Surveys" select "Free" and click "Create Free Survey"
You can start a survey in several ways: create one from scratch, replicate a previous survey, or use Buk templates. These include 10 surveys relevant to companies. You'll have the flexibility to edit, delete, or add questions as needed.
You will find 10 free survey templates:
- Onboarding
- Voluntary exit
- Department evaluation
- Workplace safety perception survey
- Work-related stress
- Benefits evaluation
- Remote work
- Inclusion and diversity perception
- Communication
- Suggestion box
In this same view you can see the survey history. You can view all surveys that have been completed, along with their details and results.
Survey configurations
When creating a survey, it is divided into 4 sections: general, scheduling, question form, and notifications and messages.
1. General
The first step is to assign a name to the survey. You should also set the survey's characteristics:
- Anonymous Survey: When reviewing responses, you will not be able to identify the respondents who provided them.
- Recurring Responses: Employees will be able to answer the survey whenever necessary. This functionality allows continuous feedback in recurring processes, such as hiring and training. Additionally, it enables creating surveys intended to function as suggestion and idea boxes, thus providing a versatile tool for continuous improvement.
- Participants with inactive employment: To enable the survey only for employees with inactive profiles, for example, for former employees.
2. Scheduling
Next, the start and end dates must be defined. These dates can be purely informational unless the checkbox corresponding to the automatic action is activated. If that option is activated, a time will need to be specified.
3. Question form
In the third section you must configure the question form that survey participants will answer. To add elements click on "Add Element". There are several options here, since questions can be included manually or by importing them. Also, to customize the survey, you will have the option to include titles, paragraphs, links to YouTube videos, and images.
To add questions manually, select "New question". You should define the question title and may add an optional description. You can also decide whether the response is required, which means the employee must answer it to submit the survey. Then, you will have to select the question type.
Para ver el detalle del tipo de pregunta disponible revisa el siguiente enlace:
What types of questions can I use in a free survey?
At the end you can define whether the question is conditional. This feature allows deeper customization of forms based on participants' answers. When activating it, you must select the question and the answer conditions that must be met for the conditional question to appear. In the list you will find the single-selection questions available to use, as well as the response that must be given for the conditional question to be shown.
Para agregar preguntas de manera masiva lee este artículo:
Bulk upload in Free Surveys
4. Notifications and Messages
When you finish adding the elements of your survey you should define the following communications:
Notification settings
Survey start notification
Survey end notification
Message settings
Welcome message
Exit message
Survey start notification
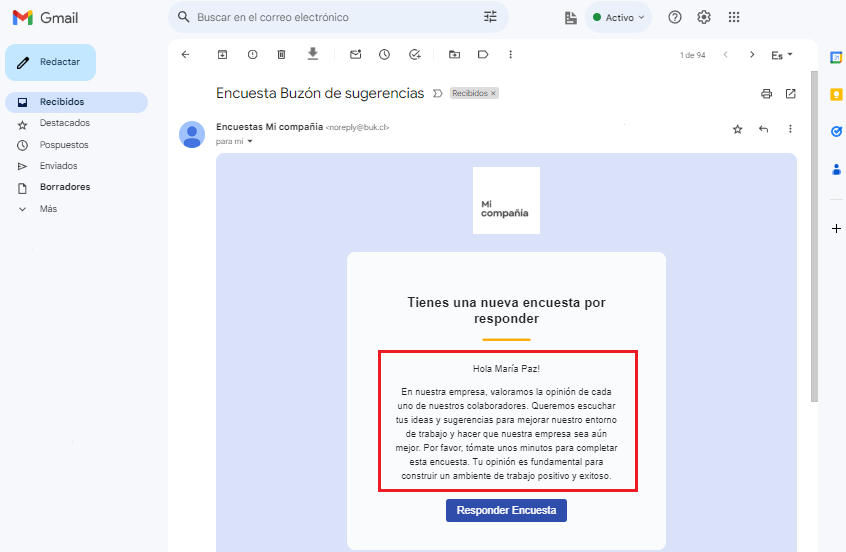
Compose the notification that employees will receive by email, along with the direct link to take the survey.
Survey end notification
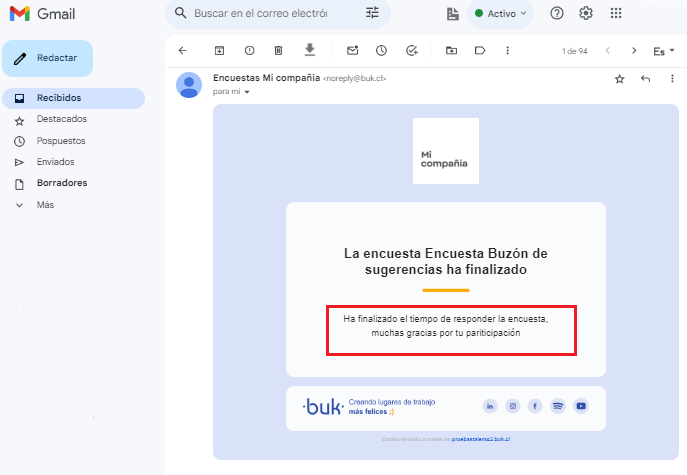
You can compose a notification that participants will receive by email when you end the survey for everyone.
Welcome message
This is the text that will appear at the beginning of the form.
Example welcome message: "Hello [Name], we invite you to participate in the survey [Survey name]. Click the following link to respond: [Link]."
Exit message
This is the message employees will see when they submit their responses.
Example end message: "The survey [Survey name] has ended. Thank you for your participation."
Add participants
When you save the survey settings, this view will open to add participants; you can do it manually or in bulk.
Para hacer una carga masiva de participantes te recomendamos leer este artículo:
Bulk upload in Free Surveys
To add participants manually, this button will open another window where you must select the employees who will participate in the survey. Once selected click "Add Selection". Then, click "Save and Exit".
Start the survey
When the survey configuration is ready, it can be sent directly to participants with the "Start Survey" button or the start can be scheduled using the "Schedule Survey" button.
To restrict access to a free survey, use the "Share" option in the survey settings under "Actions" and assign read or modify permissions only to the desired users or groups. That way, only the selected employees will be able to view or manage the survey.
Reminders can be sent manually from the participants tab. Automatic reminders, if configured, are sent by email to participants who have not responded, on a daily basis until the closing date or until they respond.
Once the survey has ended, no more responses can be recorded or the survey reopened.
🤖 This article was translated using artificial intelligence. View original article.